How to Remove Kitchen Grease Buildup
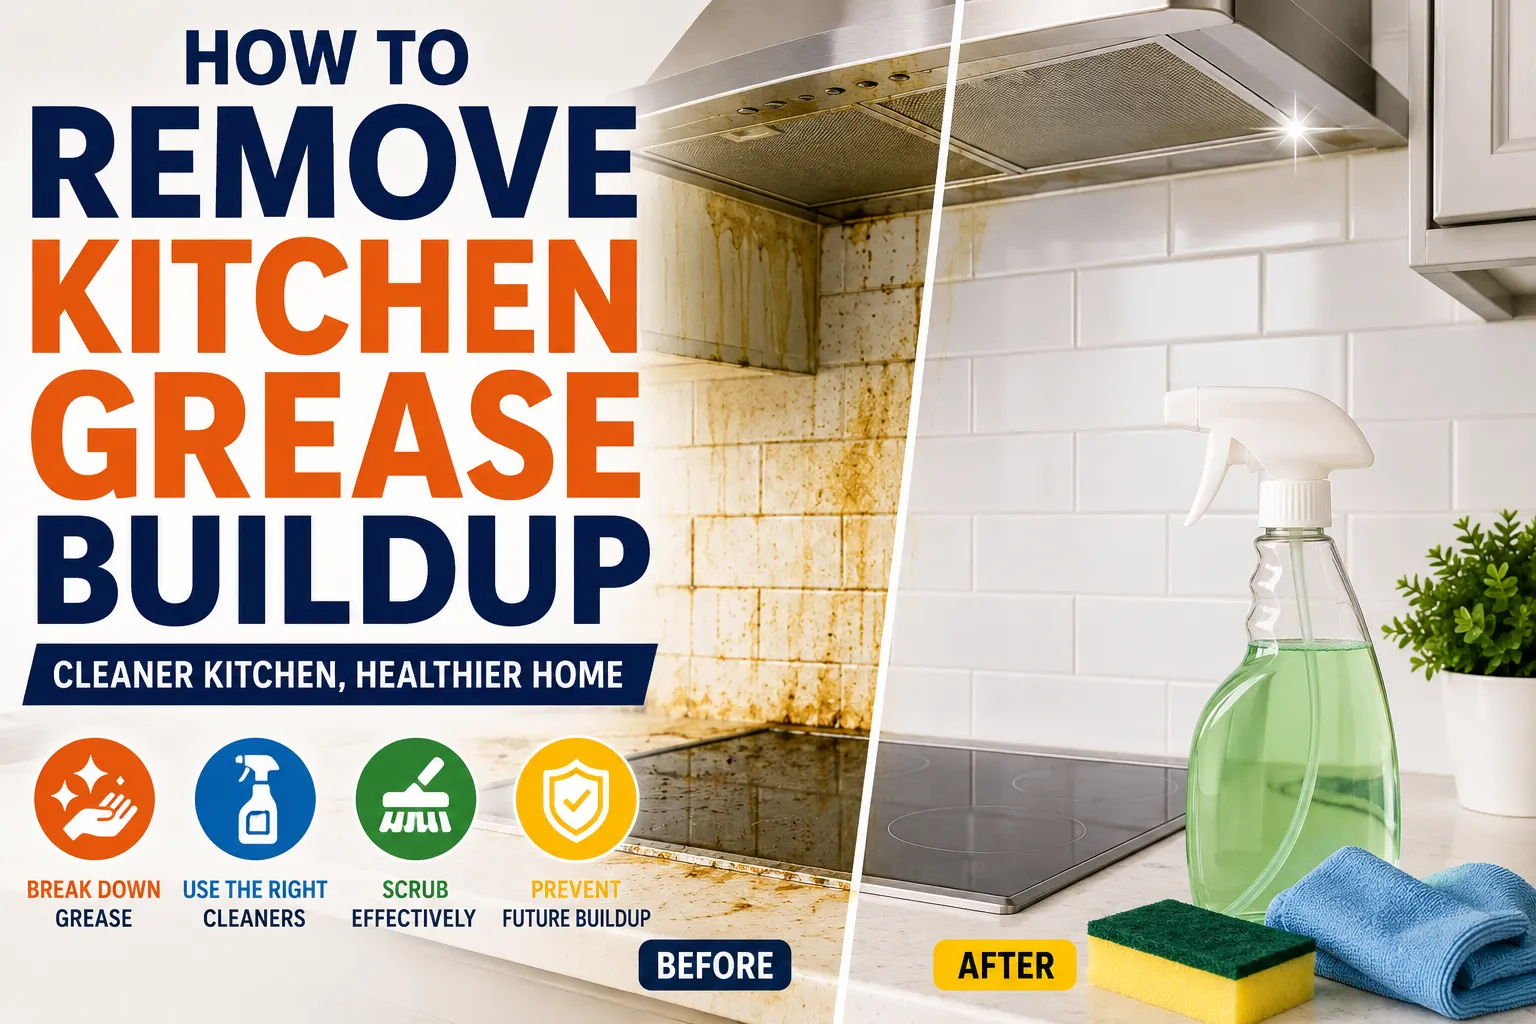
How to Remove Kitchen Grease Buildup
Kitchen grease is one of those household problems that can quietly become much harder to deal with if it is left unattended. A small amount of cooking oil can settle on cabinets, walls, backsplashes, appliances and countertops, where it mixes with dust and food particles to create a sticky layer that ordinary wiping may no longer remove.
The good news is that most kitchen grease can be tackled with the right combination of warm water, dish soap, appropriate cleaners and gentle scrubbing. The key is matching the cleaning method to the surface so that the grease disappears without damaging the finish.
For a broader overview of household cleaning methods, tools and routines, see The Ultimate Guide to Cleaning Your Home.
Why Kitchen Grease Is So Difficult to Remove
Cooking releases more than visible oil. Heating foods can produce tiny droplets and particles that settle on nearby surfaces.
Over time, grease can:
- Stick to cabinet doors
- Coat range hoods
- Build up around stovetops
- Leave a film on backsplashes
- Accumulate on appliance surfaces
- Attract dust
- Create unpleasant odors
- Become darker or more noticeable with repeated cooking
Fresh grease is generally much easier to remove than old, hardened buildup.
Heat also changes how grease behaves. Warm grease can spread across a surface, while cooled grease becomes thicker and stickier.
Start With the Mildest Cleaning Method
A common mistake is reaching immediately for a powerful degreaser.
Strong products are not always necessary, and they can damage certain finishes.
A better approach is to start with:
- Warm water
- A small amount of dishwashing liquid
- A soft microfiber cloth or sponge
Dish soap is particularly useful because it is designed to break down oils and fats.
Mix a small amount of dish soap with warm water, dampen a cloth or sponge, and wipe the greasy surface.
For stubborn buildup, allow the soapy solution to sit briefly before wiping.
If you are unsure which cleaning products or household tools are appropriate for a particular surface, Cleaning Products Explained and Cleaning Tools: Complete Guide to Household Tools & Uses provide useful guidance.
Always Check the Surface First
Before cleaning a large area, determine what material you are dealing with.
Common kitchen surfaces include:
- Painted walls
- Wood cabinets
- Laminate
- Stainless steel
- Glass
- Ceramic tile
- Natural stone
- Quartz
- Plastic
- Finished countertops
A cleaning product that works well on one surface may damage another.
When using a new cleaner, test it on a small, inconspicuous area first.
This is particularly important with painted, wood, natural-stone and specialty finishes.
How to Remove Grease From Kitchen Cabinets
Cabinet doors and handles are among the surfaces most likely to accumulate grease.
The area around cabinet handles can be particularly dirty because hands transfer additional oils to the surface.
For Painted or Laminate Cabinets
Start with a solution of warm water and a small amount of dish soap.
Dip a soft microfiber cloth into the solution and wring it out well.
Then:
- Wipe the greasy area.
- Work in small sections.
- Use a clean damp cloth to remove soap residue.
- Dry the surface with another soft cloth.
Avoid soaking cabinet doors or allowing water to remain around seams and edges.
Excess moisture can cause certain cabinet materials to swell, peel or deteriorate.
Cleaning Wooden Cabinets
Wood requires additional care because excessive moisture and harsh chemicals can damage its finish.
Use a lightly damp cloth with a mild cleaning solution rather than saturating the surface.
Always follow the cabinet manufacturer’s cleaning recommendations when available.
Avoid aggressive scrubbing, particularly on painted or older finishes.
If grease has penetrated or damaged the finish, cleaning alone may not restore the original appearance.
How to Remove Grease From a Backsplash
Tile backsplashes are generally easier to clean than porous surfaces, although grease can accumulate around grout lines.
For ceramic or porcelain tile:
- Apply warm soapy water.
- Wipe with a microfiber cloth or soft sponge.
- Pay extra attention to areas directly behind the stove.
- Rinse away residue.
- Dry the surface.
For stubborn grease, a suitable kitchen degreaser can be used according to its label instructions.
Don’t Forget the Grout
Grout can hold onto grease and discolor over time.
A soft brush can help clean dirty grout without unnecessarily scratching the surrounding tile.
Avoid using highly abrasive tools that could damage the tile surface or grout.
If the grout remains stained after cleaning, the discoloration may no longer be surface grease and may require a different treatment.
How to Clean Grease From a Range Hood
The range hood is designed to capture cooking fumes, which means it can become heavily coated with grease.
The exterior can usually be cleaned with warm water and dish soap or an appropriate kitchen degreaser.
For stainless-steel surfaces, wipe in the direction of the metal grain rather than scrubbing randomly across it.
After cleaning, rinse away any product residue and dry the surface.
Clean the Range Hood Filters
Filters deserve special attention because they can collect substantial amounts of grease.
If the filter is removable, check the manufacturer’s instructions before cleaning it.
Some metal filters can be washed with warm water and degreasing dish soap, while others may have specific cleaning requirements.
Never assume that every range hood filter is dishwasher-safe.
Grease buildup in filters can also reduce airflow, making regular maintenance important.
How to Remove Grease From a Stovetop
Stovetops frequently accumulate splashes of oil, sauces and food residue.
Allow the cooking surface to cool completely before cleaning.
For many surfaces, a damp cloth with dish soap is enough for fresh grease.
For tougher deposits:
- Remove loose debris.
- Apply a suitable degreasing cleaner.
- Allow it to work according to the product instructions.
- Wipe with a soft cloth or sponge.
- Rinse away residue.
- Dry the surface.
Different stovetop materials require different approaches.
Glass Cooktops
Glass cooktops can scratch if abrasive cleaners, scouring pads or rough tools are used.
Use a cleaner specifically recommended for glass or ceramic cooktops when necessary.
For cooked-on residue, a cooktop scraper designed for the surface may be appropriate, but it should be used carefully according to the manufacturer’s instructions.
Stainless-Steel Cooktops
Avoid abrasive pads that can leave visible scratches.
A soft microfiber cloth and appropriate cleaner are generally safer.
Again, wiping with the grain can produce a more uniform appearance.
How to Remove Grease From Walls
Walls near cooking areas can develop an oily film even when they do not appear obviously dirty.
For washable painted walls, begin with a diluted dish-soap solution and a soft cloth.
Do not saturate the wall.
Instead:
- Wipe gently
- Work from the cleanest areas toward the dirtiest
- Rinse with a lightly damp cloth
- Dry afterward
Before cleaning painted walls, test the solution in an inconspicuous location.
Some paints have finishes that can become dull or damaged by excessive scrubbing.
For more guidance on safely cleaning painted surfaces, see How to Clean Painted Walls and Ceilings Without Damage.
How to Clean Greasy Appliance Surfaces
Kitchen appliances can accumulate grease around:
- Handles
- Control panels
- Doors
- Vents
- Seams
- Buttons
A microfiber cloth and mild dish-soap solution can handle many everyday deposits.
However, keep moisture away from electrical openings, controls and other areas where liquid could enter the appliance.
For stainless-steel appliances, use a cleaner intended for stainless steel if necessary and avoid abrasive materials.
For more detailed appliance-care guidance, see How to Clean and Maintain Common Household Appliances.
Removing Grease From Glass
Glass is generally resistant to many household cleaners, but grease can leave a noticeable film.
Start with warm soapy water to break down the oily layer.
Then wipe with a clean microfiber cloth.
A glass cleaner can be used afterward to remove remaining streaks, provided it is suitable for the surface.
For oven doors, follow the manufacturer’s cleaning instructions because some doors have multiple glass layers and specific maintenance requirements.
How to Remove Old, Hardened Grease
Old grease can be more difficult because repeated heating and cooling can create a thick, sticky or hardened deposit.
Instead of immediately applying excessive force, soften the buildup first.
A practical method is:
- Apply warm soapy water.
- Leave it on the affected area for several minutes.
- Wipe away softened grease.
- Repeat if necessary.
- Use an appropriate degreaser for remaining residue.
- Rinse and dry the surface.
Several gentle cleaning cycles are often safer than one aggressive scrubbing session.
When to Use a Commercial Degreaser
Commercial kitchen degreasers can be useful when ordinary dish soap is not enough.
They are particularly helpful for:
- Heavy grease
- Range hoods
- Stovetop buildup
- Appliance surfaces
- Older kitchen residue
However, stronger does not always mean better.
Always read the product label and verify that the cleaner is suitable for the surface.
Some degreasers can damage:
- Natural stone
- Painted surfaces
- Certain plastics
- Aluminum
- Wood finishes
- Specialty coatings
Be Careful With Natural Stone
Natural stone countertops such as marble, limestone and some types of granite require appropriate cleaning products.
Avoid assuming that every household degreaser is safe for stone.
Acidic or highly aggressive cleaners can damage certain stone surfaces or their finishes.
For stone countertops, use a cleaner specifically labeled as safe for the particular material.
For broader advice on preserving household finishes while cleaning, see How to Protect Household Surface Finishes.
Quartz Countertops Need Care Too
Engineered quartz is generally durable, but manufacturers can have specific recommendations concerning heat, chemicals and abrasive cleaners.
Follow the manufacturer’s care instructions rather than using a harsh degreaser simply because the surface appears resistant.
What About Baking Soda?
Baking soda is sometimes useful for household cleaning because its mild abrasiveness can help loosen certain residues.
However, it should not be treated as a universal solution for every kitchen surface.
A paste made with baking soda and water can help with some stubborn deposits, but abrasive cleaning can dull or scratch delicate finishes.
Use it cautiously and test an inconspicuous area first.
Why Vinegar Is Not Always the Answer
Vinegar is commonly recommended for household cleaning, but it is not appropriate for every kitchen surface.
Acidic cleaners can damage or dull certain natural stones and other sensitive materials.
If you are unsure whether vinegar is safe for a particular countertop, backsplash or appliance, check the manufacturer’s care instructions first.
Never Mix Household Cleaning Chemicals
One of the most important cleaning rules is to never mix cleaning products unless the manufacturer specifically states that they can be combined.
In particular, never mix bleach with ammonia or acidic cleaners.
Dangerous gases can be produced.
Use one cleaning product at a time, follow the label directions and provide adequate ventilation.
How to Clean Grease From Cabinet Handles
Handles often require more attention than the rest of the cabinet because they are touched repeatedly.
Remove grease with:
- Warm water
- Mild dish soap
- A microfiber cloth
For metal hardware, confirm that the cleaning method is compatible with the finish.
Avoid aggressive scrubbing that could remove protective coatings or alter the appearance of the hardware.
How to Remove Grease From Kitchen Floors
Grease that reaches the floor can create both a cleaning problem and a slip hazard.
Begin by removing loose dirt and debris.
Then use a floor cleaner appropriate for the flooring material.
For tile floors, warm water and an appropriate cleaner can usually remove surface grease.
For wood flooring, avoid excessive water and use a product recommended for the specific finish.
After cleaning, make sure the floor is dry.
For surface-specific flooring care, How to Clean Different Flooring Types provides additional guidance.
Grease and Kitchen Odors
Grease does more than make surfaces sticky.
It can absorb and retain cooking odors, particularly when it accumulates in porous materials or areas that are rarely cleaned.
Removing grease from:
- Range hoods
- Cabinet tops
- Walls
- Backsplashes
- Filters
- Nearby appliances
can help reduce lingering cooking smells.
Good kitchen ventilation is equally important.
For persistent household smells beyond cooking grease, see the Odor Removal Guide: How to Remove Household Smells.
Don’t Forget the Top of Cabinets
The tops of kitchen cabinets are often overlooked because they are difficult to see.
However, they can collect a mixture of:
- Grease
- Dust
- Cooking particles
Over time, this can create a thick, sticky layer.
Cleaning these areas periodically can prevent buildup from becoming difficult to remove.
If reaching the area requires a ladder, use appropriate safety precautions rather than stretching or standing on unstable furniture.
How Often Should You Clean Kitchen Grease?
There is no universal schedule because cooking habits differ.
A household that frequently fries or cooks with high heat may need to clean greasy surfaces much more often than a household that rarely cooks.
A practical routine might include:
Daily
Wipe obvious splashes and spills from the stovetop and nearby surfaces.
Weekly
Clean frequently touched cabinet handles, the stovetop, backsplash and other areas where grease is visible.
Monthly
Inspect the range hood, filters, cabinet tops and less frequently cleaned surfaces.
Periodically
Deep-clean areas that accumulate heavy grease and follow appliance maintenance recommendations.
Regular light cleaning is usually easier than removing months of accumulated buildup.
How to Prevent Kitchen Grease Buildup
The easiest grease problem to clean is the one that never becomes severe.
Several habits can reduce accumulation.
Use Your Range Hood
Turn on the range hood when cooking, particularly when frying or using high heat.
Good ventilation can help capture airborne cooking particles before they settle on surrounding surfaces.
Wipe Splashes Quickly
Fresh grease is easier to remove than hardened residue.
Keeping a microfiber cloth nearby can make quick cleanup easier.
Clean Cabinet Handles Regularly
Because handles receive both cooking residue and hand oils, they deserve frequent attention.
Keep Filters Clean
A clogged or heavily greasy range hood filter may not perform as effectively.
Follow the appliance manufacturer’s cleaning schedule.
Cover Food When Appropriate
Using lids or splatter guards can reduce the amount of oil that escapes during cooking.
Avoid Excessive Cooking Oil
Using only the amount of oil required can reduce splattering and make cleanup easier.
A Simple Kitchen Degreasing Routine
For a general kitchen cleanup, the following sequence can work well:
Step 1: Clear the area.
Remove appliances, dishes and other objects from the surface.
Step 2: Remove loose dirt.
Use a dry or slightly damp microfiber cloth.
Step 3: Apply mild cleaner.
Start with warm water and a small amount of dish soap.
Step 4: Let stubborn grease soften.
Give the solution a few minutes to loosen buildup where appropriate.
Step 5: Wipe gently.
Use a soft sponge or microfiber cloth.
Step 6: Rinse.
Remove remaining soap and grease residue with a clean damp cloth.
Step 7: Dry.
Use a dry microfiber cloth to prevent water spots and moisture damage.
Step 8: Inspect.
Repeat the process on areas where grease remains.
Common Kitchen Degreasing Mistakes
Using Too Much Cleaner
More product does not necessarily mean better cleaning.
Excess cleaner can leave residue that attracts more dirt.
Scrubbing Too Hard
Aggressive scrubbing can scratch surfaces or remove finishes.
Let the cleaning solution do some of the work.
Ignoring Manufacturer Instructions
Appliances and countertops can have specific maintenance requirements.
Those instructions should take priority over generic cleaning advice.
Using the Same Cleaner Everywhere
A cleaner that is suitable for tile may not be appropriate for wood or natural stone.
Match the product to the surface.
Letting Grease Sit for Too Long
The longer grease remains, the more difficult it can become to remove.
Regular maintenance reduces the need for intensive cleaning.
When Grease Has Damaged the Finish
Sometimes what looks like grease is actually a damaged or discolored surface.
If cleaning does not restore the original appearance, the problem may involve:
- Paint deterioration
- Burn marks
- Discoloration
- Scratched finish
- Chemical damage
- Heat damage
Continuing to scrub may make the situation worse.
At that point, the appropriate solution may involve refinishing, repainting or replacing the affected component rather than more aggressive cleaning.
Keeping Grease From Becoming a Bigger Kitchen Problem
Kitchen grease is easiest to manage when it is treated as part of regular household maintenance rather than a once-a-year deep-cleaning project.
Start with the gentlest effective method, usually warm water and dish soap, and move to a suitable degreaser only when necessary. Pay close attention to the material being cleaned, especially when working with wood, painted surfaces, natural stone and specialty finishes.
Regularly wiping cooking areas, cleaning range hood filters, using adequate ventilation and dealing with spills while they are fresh can dramatically reduce buildup.
The goal is not to keep every kitchen surface perfectly spotless at all times. It is to prevent a thin layer of everyday cooking residue from becoming a thick, stubborn coating that takes hours to remove. With consistent maintenance and the right cleaning method for each surface, even heavily used kitchens can stay cleaner with considerably less effort.